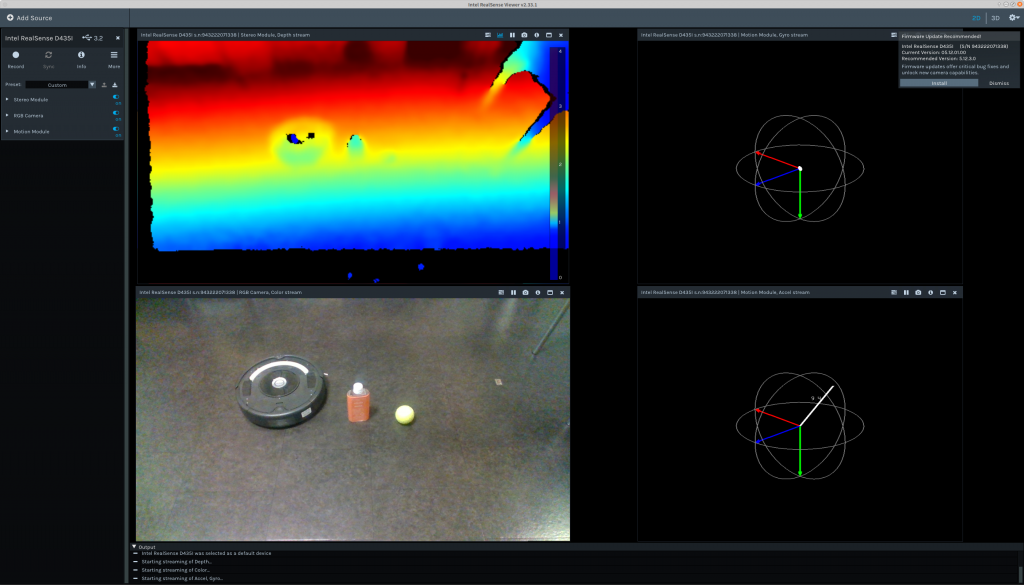
RealSense D435iをROS Melodicで使うメモ。D435iはD435にIMUが搭載された新しい機種。D435と同じようにインストールできた。ROSのラッパーもありすぐ使える。このメモはRGB画像と深度画像の表示とポイントクラウド表示まで。なお、ビルドコマンドはcatkin_makeではなくcatkin buildを使用しているので、catkin_makeを使っている方は適宜読み替えてください。
環 境
- Razer Blade 15
- Ubuntu18.04
- ROS Melodic
- RealSense SDK 2.0
参考リンク
- Intel RealSense SDK Installation : Linux distribution
- ROS Wrapper 2.0 for Intel® RealSense™ Devices (build 2.2.13)
RealSense SDKのインストール
- このページのとおり実施すればよい。以下の手順はその簡単な日本語訳とささやかな補足。
- サーバーの公開鍵を登録
$ sudo apt-key adv --keyserver keys.gnupg.net --recv-key F6E65AC044F831AC80A06380C8B3A55A6F3EFCDE || sudo apt-key adv --keyserver hkp://keyserver.ubuntu.com:80 --recv-key F6E65AC044F831AC80A06380C8B3A55A6F3EFCDE
- リポジトリにIntelサーバーを追加
$ sudo add-apt-repository "deb http://realsense-hw-public.s3.amazonaws.com/Debian/apt-repo bionic main" -u
- リポジトリのリストと使えるパッケージをリフレッシュする
$ sudo apt update
- ライブラリのインストール
$ sudo apt install librealsense2-dkms$ sudo apt install librealsense2-utils
- 開発用に追加のパッケージをインストールする
$ sudo apt install librealsense2-dev$ sudo apt install librealsense2-dbg
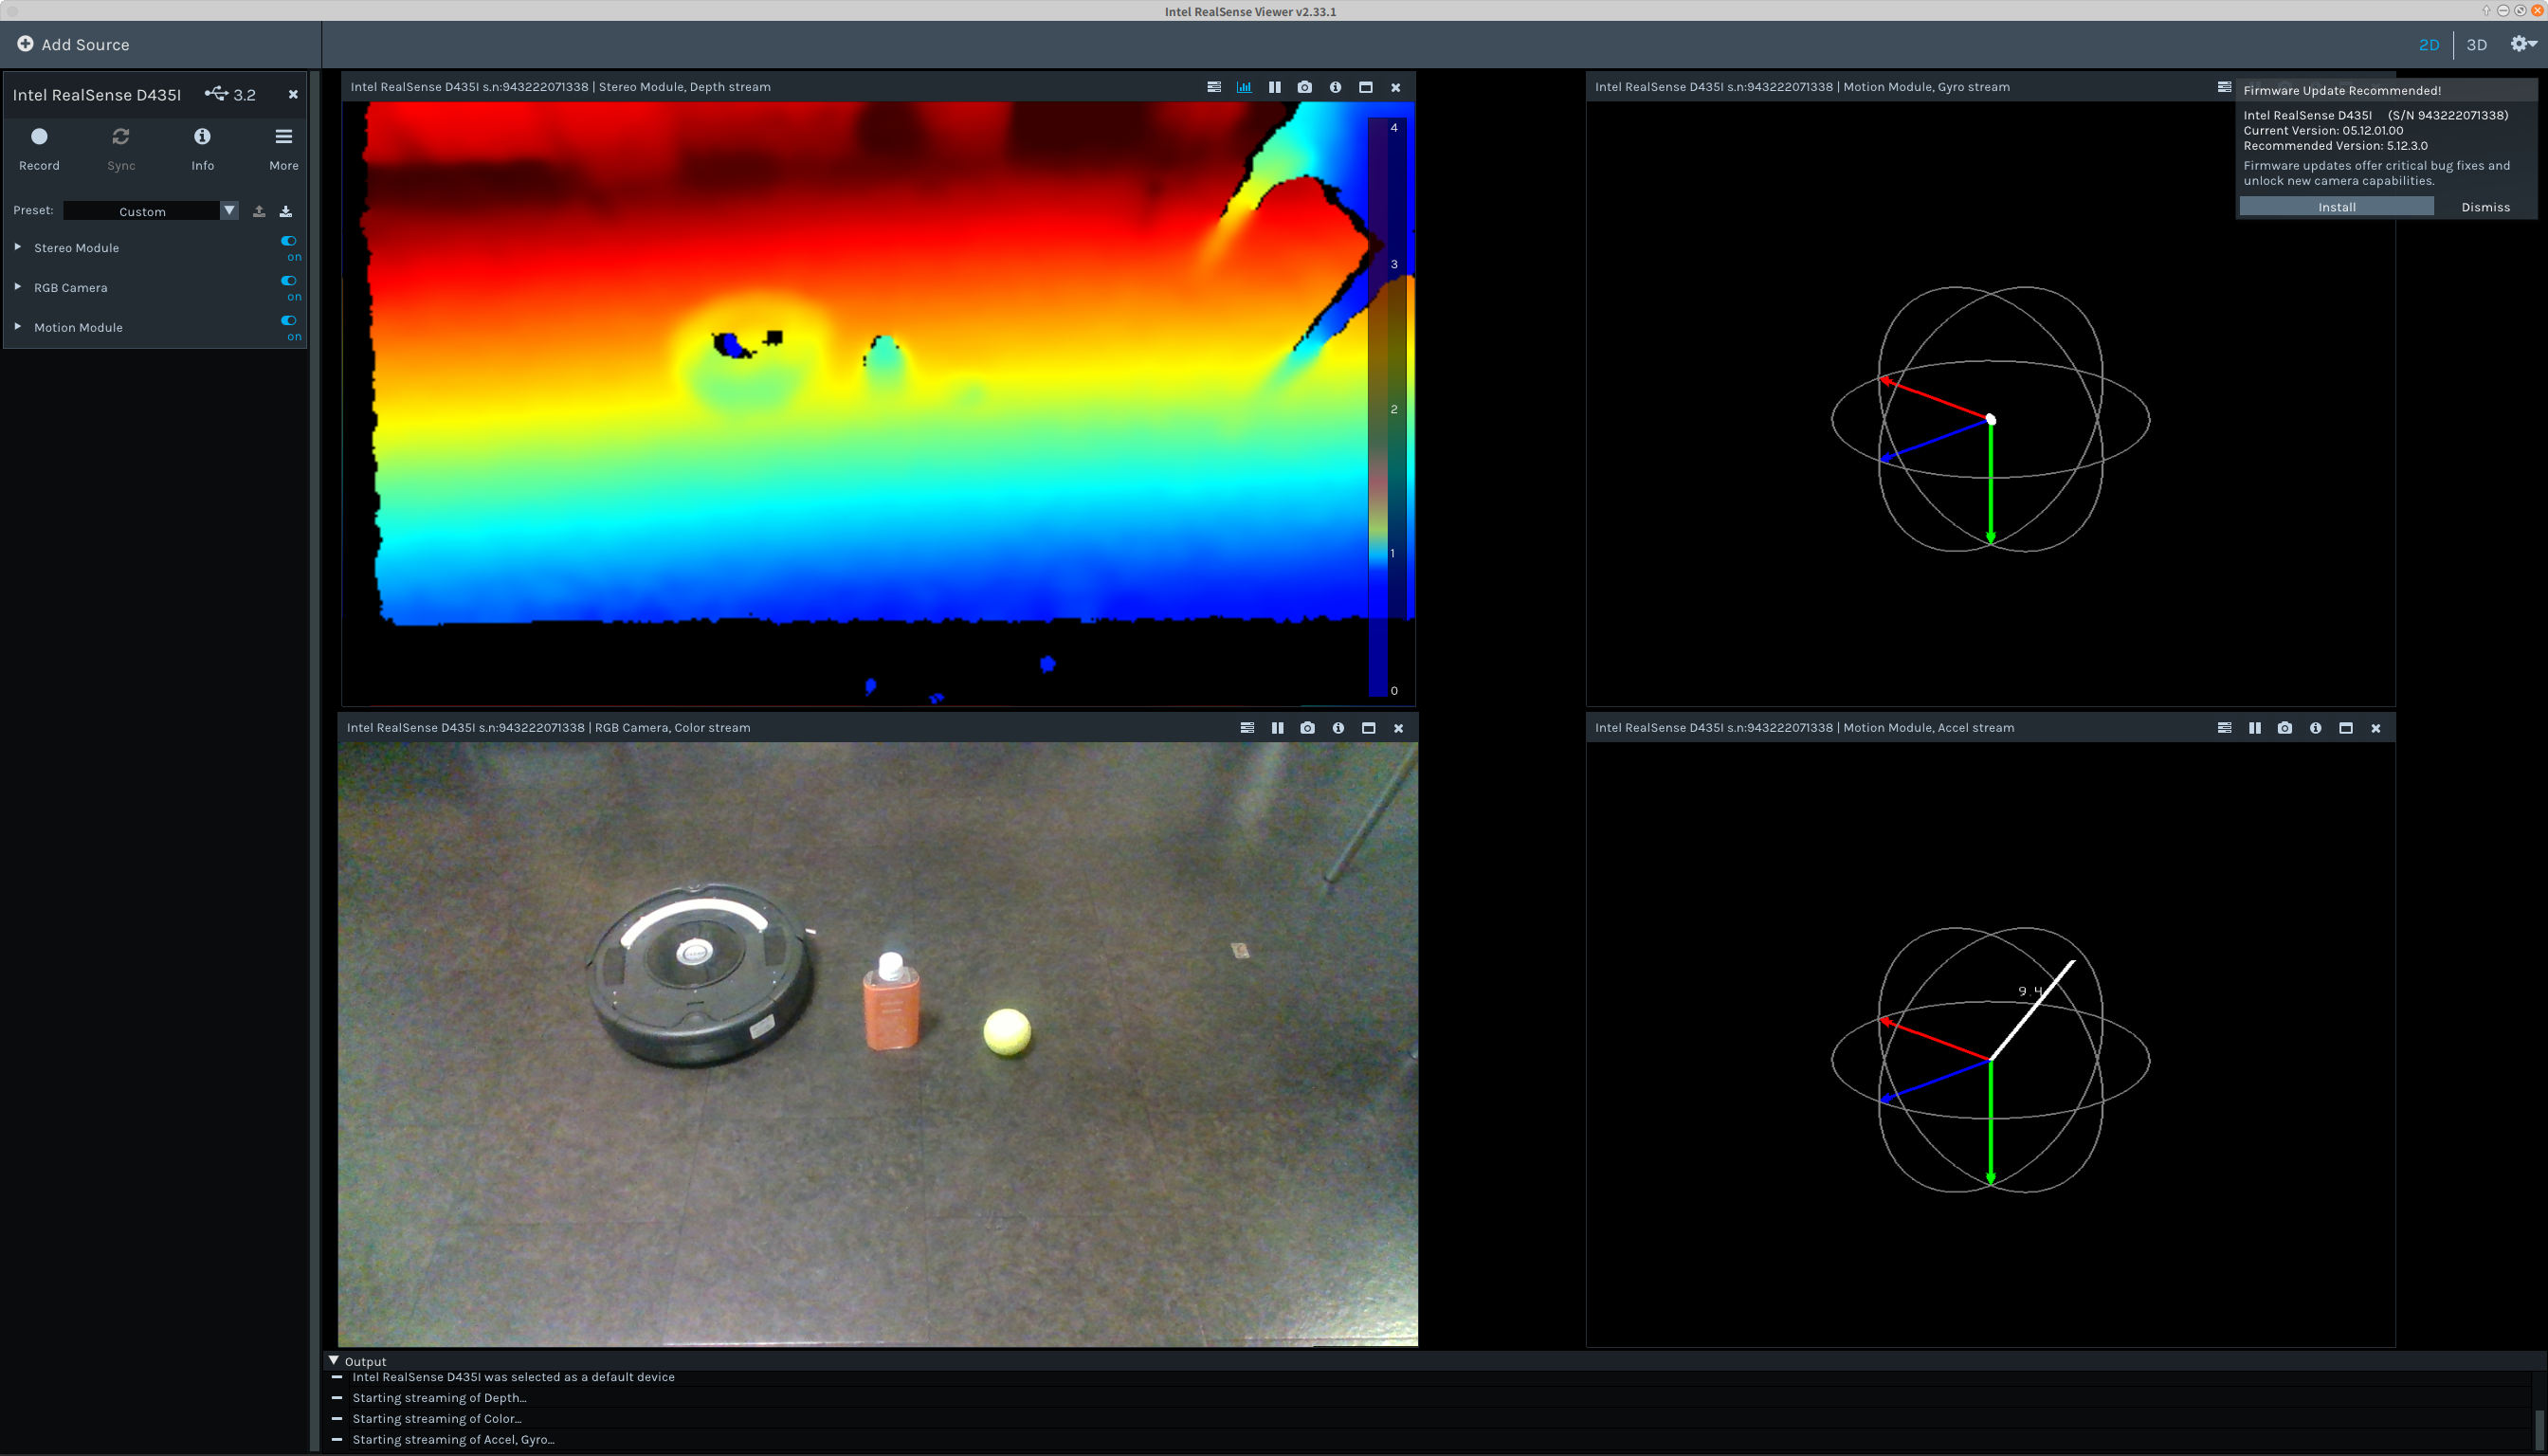
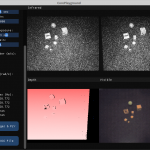
- RealSenseのUSBケーブルを抜き差しして以下のコマンドを実行する。ウインドウが開くので、左サイドバーにあるStereo ModuleとRGB Cameraをoffからonにすると、上のような画像が現れる。左上が深度画像、下がRGB画像、右側はジャイロと加速度センサからの情報を表示している。
$ realsense-viewer
パッケージのアップグレード
- 以下の手順でアップグレードする。ここでは上でインストールしたパッケージだけアップグレードする。アップグレード可能なすべてのパッケージをアップグレードすると稀に動かなくなるパッケージがあるのでこの方法はお勧め。
$ sudo apt update$ sudo apt --only-upgrade install librealsense2-utils librealsense2-dkms librealsense2-dev librealsense2-dbg
ROSラッパーのインストール
- https://github.com/intel-ros/realsense/releases からSource code (realsense-2.0.3.tar.gz)を~/catkin_ws/srcにダウンロードする
- $ cd ~/catkin_ws/src
- $ git clone https://github.com/pal-robotics/ddynamic_reconfigure.git
- $ catkin build
- $ git clone https://github.com/IntelRealSense/realsense-ros.git
- $ catkin build
- 参考元の説明を元に次のようにcatkin installすると不具合が出た学生がいたので変更した。
$ catkin build -DCATKIN_ENABLE_TESTING=False -DCMAKE_BUILD_TYPE=Release$ catkin install
- 参考元の説明を元に次のようにcatkin installすると不具合が出た学生がいたので変更した。
RGB画像と深度画像の表示
$ roslaunch realsense2_camera rs_camera.launch- 解像度は640×480 pixel。変更したいときはrs_camera.launchの中を書き換える。
- カメラ画像を表示するimage_viewノードは、melodicではaptでインストールできないので、rqt版のrqt_image_viewをインストールする。
$ sudo apt install ros-melodic-rqt-image-view
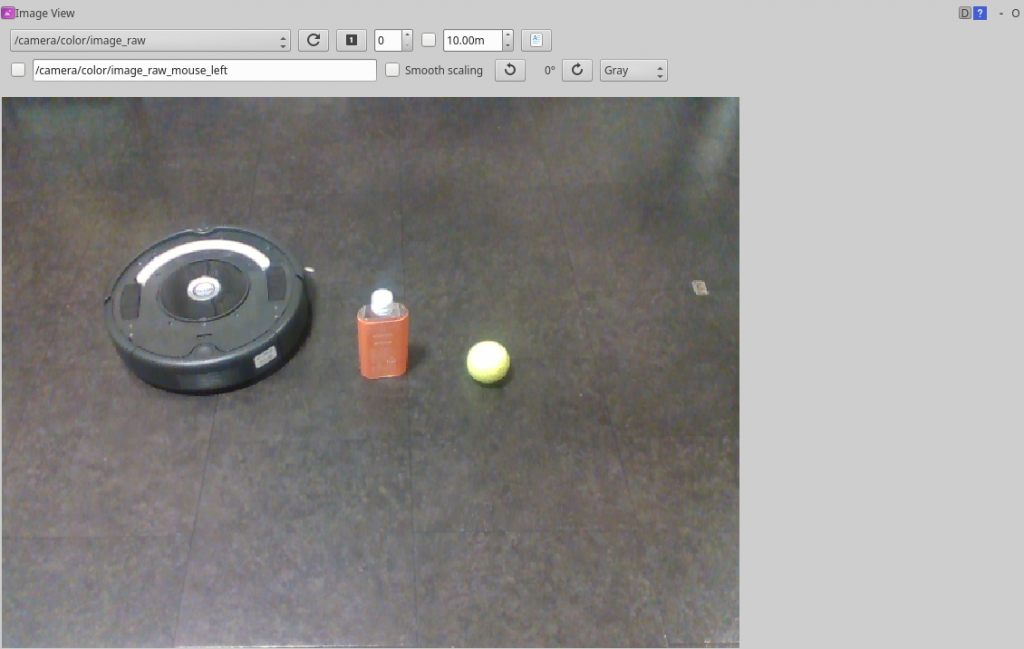
$ rosrun rqt_image_view rqt_image_view- 左上の選択ボックスからトピック/camera/color/image_rawを選択して、下のように画像が表示されれば成功。
- トピック
~/catkin_ws$ rostopic list /camera/color/camera_info /camera/color/image_raw /camera/color/image_raw/compressed /camera/color/image_raw/compressed/parameter_descriptions /camera/color/image_raw/compressed/parameter_updates /camera/color/image_raw/compressedDepth /camera/color/image_raw/compressedDepth/parameter_descriptions /camera/color/image_raw/compressedDepth/parameter_updates /camera/color/image_raw/theora /camera/color/image_raw/theora/parameter_descriptions /camera/color/image_raw/theora/parameter_updates /camera/depth/camera_info /camera/depth/image_rect_raw /camera/depth/image_rect_raw/compressed /camera/depth/image_rect_raw/compressed/parameter_descriptions /camera/depth/image_rect_raw/compressed/parameter_updates /camera/depth/image_rect_raw/compressedDepth /camera/depth/image_rect_raw/compressedDepth/parameter_descriptions /camera/depth/image_rect_raw/compressedDepth/parameter_updates /camera/depth/image_rect_raw/theora /camera/depth/image_rect_raw/theora/parameter_descriptions /camera/depth/image_rect_raw/theora/parameter_updates /camera/extrinsics/depth_to_color /camera/extrinsics/depth_to_infra1 /camera/extrinsics/depth_to_infra2 /camera/infra1/camera_info /camera/infra1/image_rect_raw /camera/infra1/image_rect_raw/compressed /camera/infra1/image_rect_raw/compressed/parameter_descriptions /camera/infra1/image_rect_raw/compressed/parameter_updates /camera/infra1/image_rect_raw/compressedDepth /camera/infra1/image_rect_raw/compressedDepth/parameter_descriptions /camera/infra1/image_rect_raw/compressedDepth/parameter_updates /camera/infra1/image_rect_raw/theora /camera/infra1/image_rect_raw/theora/parameter_descriptions /camera/infra1/image_rect_raw/theora/parameter_updates /camera/infra2/camera_info /camera/infra2/image_rect_raw /camera/infra2/image_rect_raw/compressed /camera/infra2/image_rect_raw/compressed/parameter_descriptions /camera/infra2/image_rect_raw/compressed/parameter_updates /camera/infra2/image_rect_raw/compressedDepth /camera/infra2/image_rect_raw/compressedDepth/parameter_descriptions /camera/infra2/image_rect_raw/compressedDepth/parameter_updates /camera/infra2/image_rect_raw/theora /camera/infra2/image_rect_raw/theora/parameter_descriptions /camera/infra2/image_rect_raw/theora/parameter_updates /camera/realsense_ros_camera_manager/bond /camera/realsense_ros_camera_manager/parameter_descriptions /camera/realsense_ros_camera_manager/parameter_updates /rosout /rosout_agg /tf_static
ポイントクラウドの表示
- rgbd_launchパッケージのインストール
- $ sudo apt install ros-melodic-rgbd-launch
- 起動
- $ roslaunch realsense2_camera rs_rgbd.launch align_depth:=true
- ポイントクラウドのトピック
- rostopic listコマンドで確認すると以下のトピックを確認できる。
- $ rostopic list
略
/camera/depth_registered/points
- $ rostopic list
- メッセージ型の確認
- $ rostopic info /camera/depth_registered/points
Type: sensor_msgs/PointCloud2
Publishers:
* /camera/realsense2_camera_manager (http://razer:36809/)
- $ rostopic info /camera/depth_registered/points
- rostopic listコマンドで確認すると以下のトピックを確認できる。
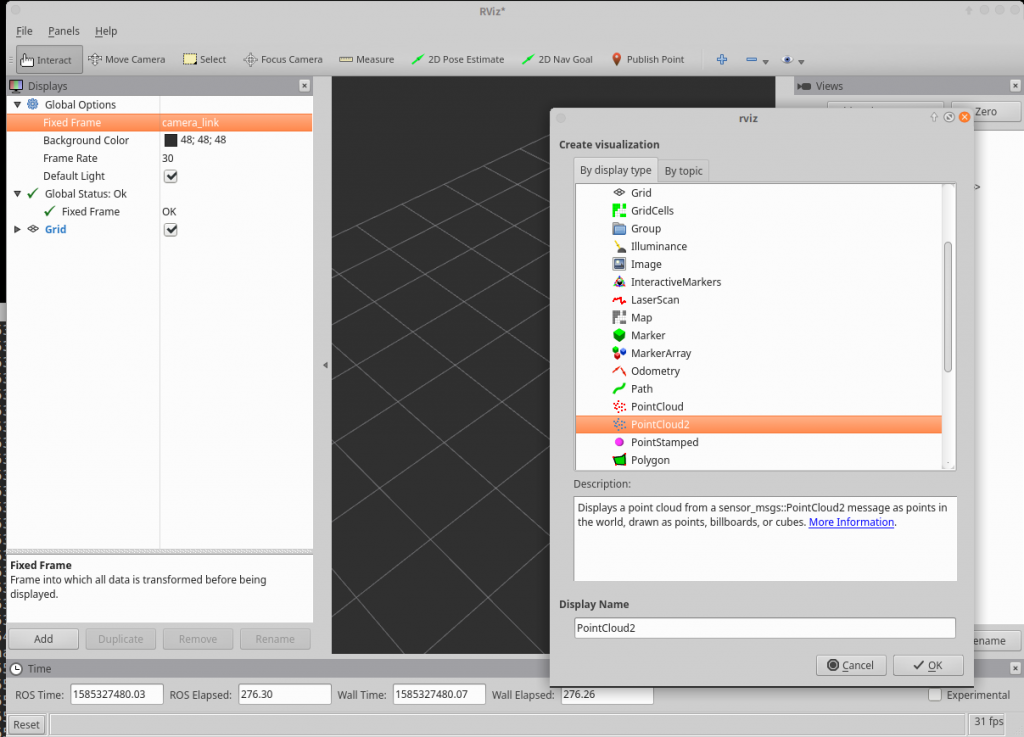
- 表示
-
-
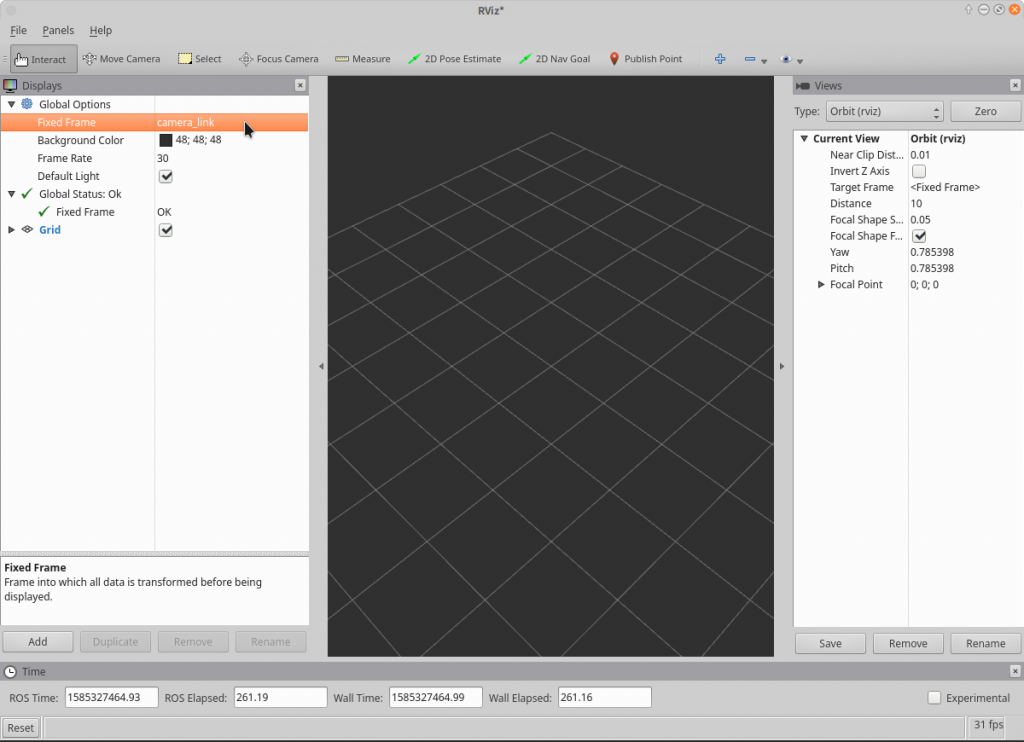
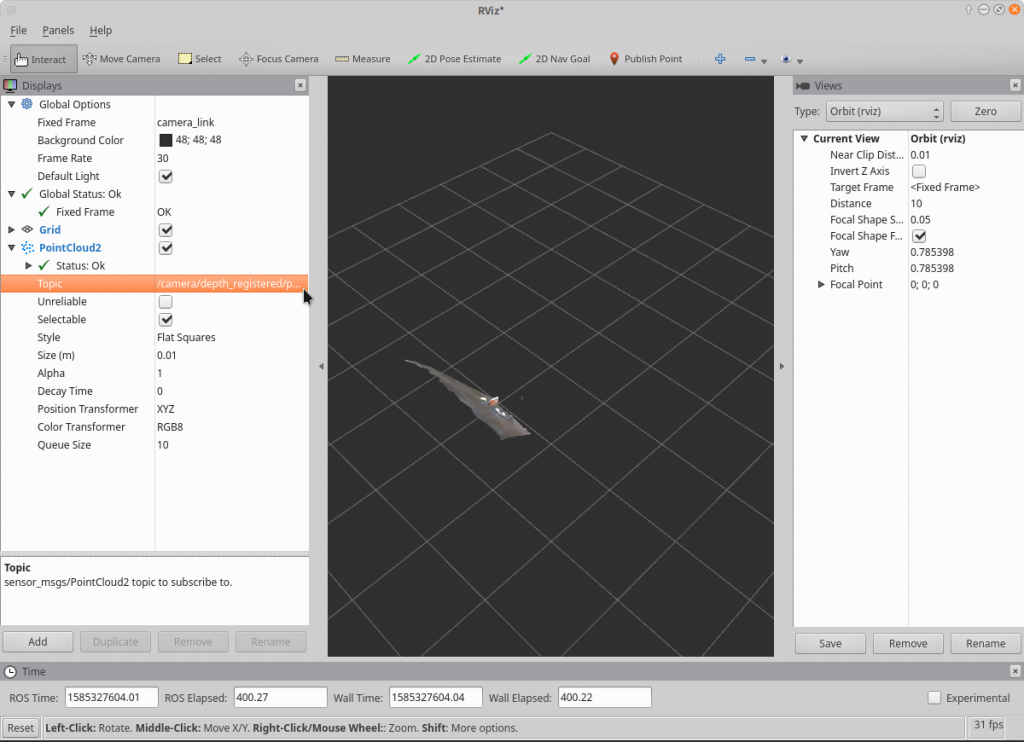
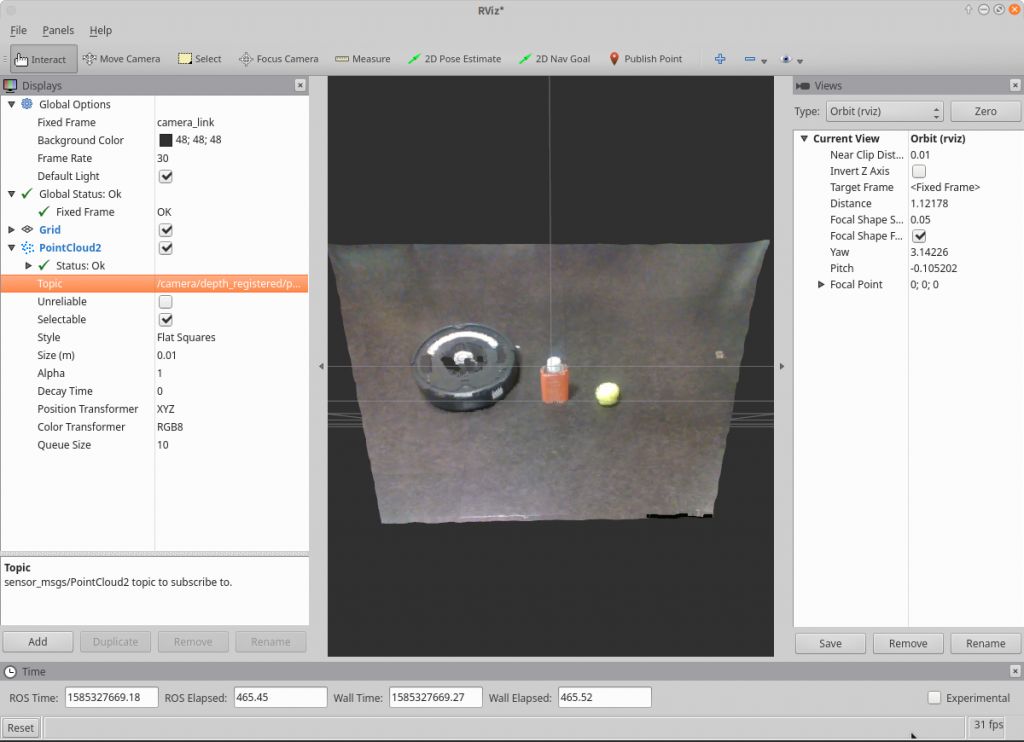
- RGB付ポイントクラウドが表示される。カメラが傾いているのでポイントクラウドの表示も上図のように傾いているが、次の操作で下図のように変更できる。
- 左マウスボタンクリック:回転
- 中マウスボタンクリック:x, y軸移動
- 右クリックまたはマウスホイール:拡大、縮小
- RGB付ポイントクラウドが表示される。カメラが傾いているのでポイントクラウドの表示も上図のように傾いているが、次の操作で下図のように変更できる。
-
終わり
コメント