
この記事は私が主催しているRobotVision勉強会の内容メモです。OpenCVの内容については下のサイトやOpenCV3.2.0のドキュメントを参考にしています。なお、開発環境はUbuntu16.04、OpenCV3.2.0です。第2回に実施した色による物体抽出のサンプルコードを紹介します。
1.サンプルコード
// Robot Vision勉強会 sample3
// 2017-10-19
#include <opencv2/line_descriptor.hpp>
#include <opencv2/imgproc.hpp>
#include <opencv2/features2d.hpp>
#include <opencv2/highgui.hpp>
#include "opencv2/imgproc/imgproc.hpp"
#include <opencv2/core/core.hpp>
#include <opencv2/highgui/highgui.hpp>
#include <iostream>
char window_name[] = "Sample Program 3";
char window_name2[] = "Output Image";
int main( int argc, char** argv )
{
cv::Mat img_src;
cv::Mat img_dst = cv::Mat::zeros(cvSize(640, 480), CV_8UC3);
// カメラから動画の読み込み
cv::VideoCapture capture(0); // カメラ0番をオープン
if (!capture.isOpened()) {
std::cout << "camera open error" << std::endl;
}
// 動画ファイルへの書き出し準備
cv::VideoWriter writer("output.avi", CV_FOURCC_DEFAULT, 30,
cv::Size(640, 480), true);
if (!writer.isOpened()) {
std::cout << "writer error" << std::endl;
}
// ウインドウの生成
cv::namedWindow(window_name, CV_WINDOW_AUTOSIZE);
cv::namedWindow(window_name2, CV_WINDOW_AUTOSIZE);
int height = img_dst.rows; // 画像の高さ[pixel]
int width = img_dst.cols; // 画像の幅[pixel]
int step = img_dst.step; // 1行のチャンネル総数
int c = img_dst.channels(); // チャンネル数
// qキーが押されるまでループ
while(true) {
capture >> img_src; // カメラからの読み込み
writer << img_src; // ファイルへの書き出し
img_dst = img_src.clone(); // コピー
for (int y =0; y < height; y++) {
for (int x = 0; x < width; x++) {
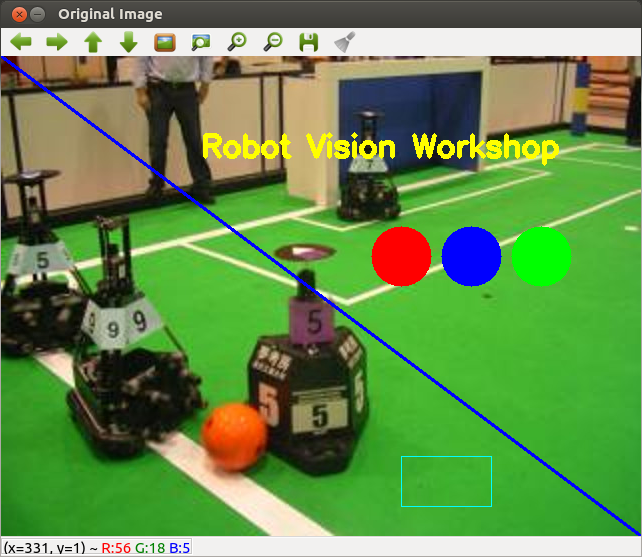
if (x == y || x < 50) {
// 教科書P49参照
img_dst.data[y* step + x * c + 0] = 0; // B 青
img_dst.data[y* step + x * c + 1] = 0; // G 緑
img_dst.data[y* step + x * c + 2] = 0; // R 赤
}
}
}
cv::imshow(window_name,img_src); // 入力画像の表示
cv::imshow(window_name2, img_dst); // 出力画像の表示
int c = cv::waitKey(1);
if( (char)c == 'q') break; // qキーが押されると終了
}
return(0);
}
2.ハンズオン
- 次のファイルをダウンロード、makeして実行しよう!
- 動画を読み込むことができるように改良しよう!
- 画像を操作して赤い円を出力画像に描こう!
- 画素の赤成分が100以上、青と緑成分が50以下の画素を黒くしよう!
3.発展研究
- 次の機能を持つ信号機検出プログラムを作ろう!
- 赤(黄、青)信号なら赤(黄、青)丸表示
- 各信号色の座標を表示
- いつでも使えること(昼、夜、曇り、晴れ)
以上

コメント